The Best Clove Smokes on Split: Attack, Defense, and Post-Death Setups
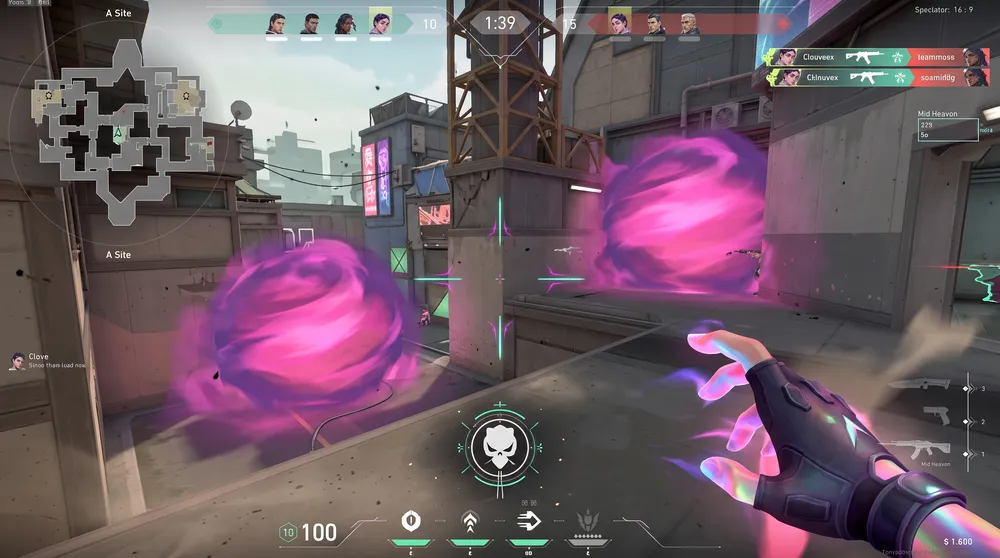
Split has historically favored traditional controller agents like Omen and Viper, but Clove’s high-tempo duelist-hybrid kit and ability to smoke after falling in battle make them an aggressive alternative. Because Split is defined by narrow choke points and contested vertical elevation (Mid and Heavens), precise smoke placement dictates whether your team takes territory or gets pinned in ramps.
Here are the essential Clove smoke lineups on Split for Attack, Defense, and critical post-death situations.
Attacking Split: Securing Sightlines
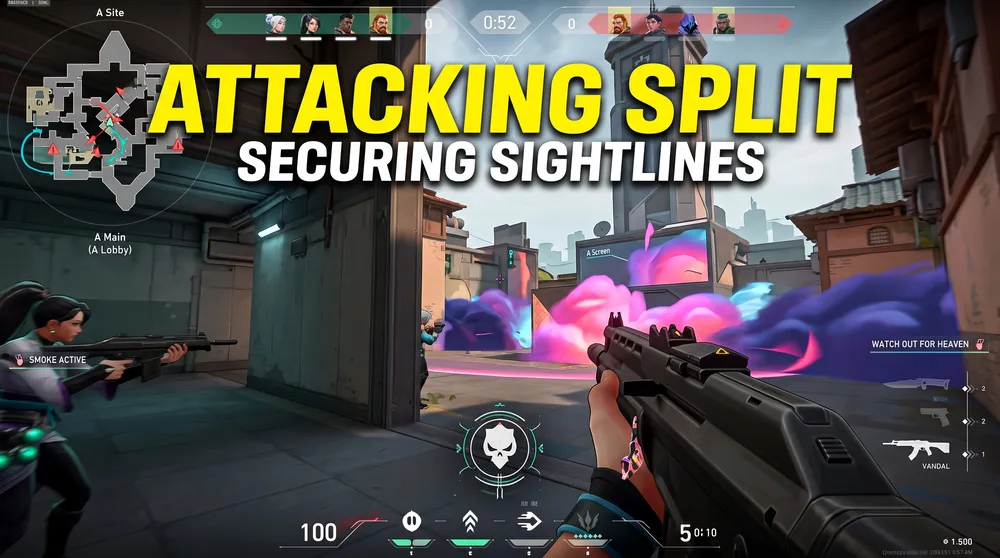
Clove’s smoke radius allows for complete coverage of Split's tight chokes, provided your positioning stays within range of the target areas.
A Site Execution:
-
A Tower (Heaven): Cast your first smoke directly on the lip of A Heaven. Ensure the bottom edge aligns flush with the doorway to eliminate gaps where defending snipers can look down on Main.
-
A Screens: Drop your second smoke directly across Screens to cut off fast rotations coming from CT spawn and Defender spawn.
B Site Execution:
-
B Heaven / Rafters: Place your smoke deep into B Heaven. Avoid letting the smoke bloat outwards into site, which risks giving defenders free cover to drop into Hell unnoticed.
-
Back Site / CT Alley: Cover the exit from CT to sever reinforcement paths from Mid and A rotations.
Controlling Mid: The Linchpin of Split
Winning Split rarely happens without Mid control. Clove’s quick regeneration on their tactical charges allows your squad to pressure Mid continuously throughout each round.
-
Mid Vent: Smoke off Vent from Sewer early to isolate defender cross-angles into Mid Mail.
-
Mid Mail Choke: Block Mail line of sight to allow your team to execute a split-push toward B Heaven without taking fire from elevated defender positions.
Maximizing Post-Death Smokes on Defense
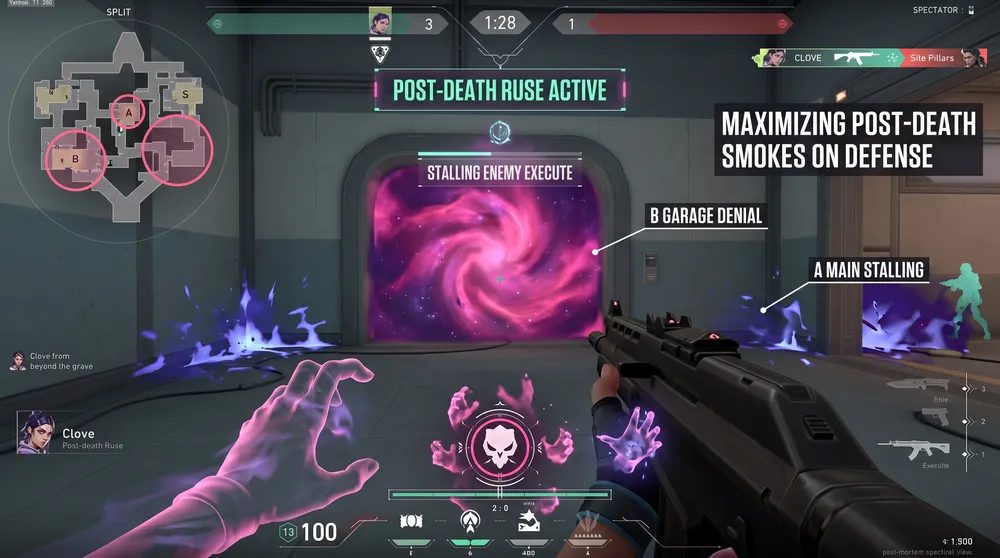
The defining strength of Clove is Ruse (E) usage from beyond the grave. While traditional controllers leave their team vulnerable once eliminated, Clove can anchor sites post-mortem if their body drops within range.
-
B Garage Denial: If you contest B Garage early and trade out, immediately drop your smoke directly in the garage archway. This denies visual confirmation for enemy follow-ups and stalls execute timers.
-
A Main Stalling: When defending A, position your body near A Screens or Site Pillars before engaging. Dying inside the site perimeter ensures your smoke aura reaches both A Main and A Ramps, enabling you to choke off enemy pushes while your remaining teammates rotate.