How to Make a Composter in Minecraft: Ultimate Guide

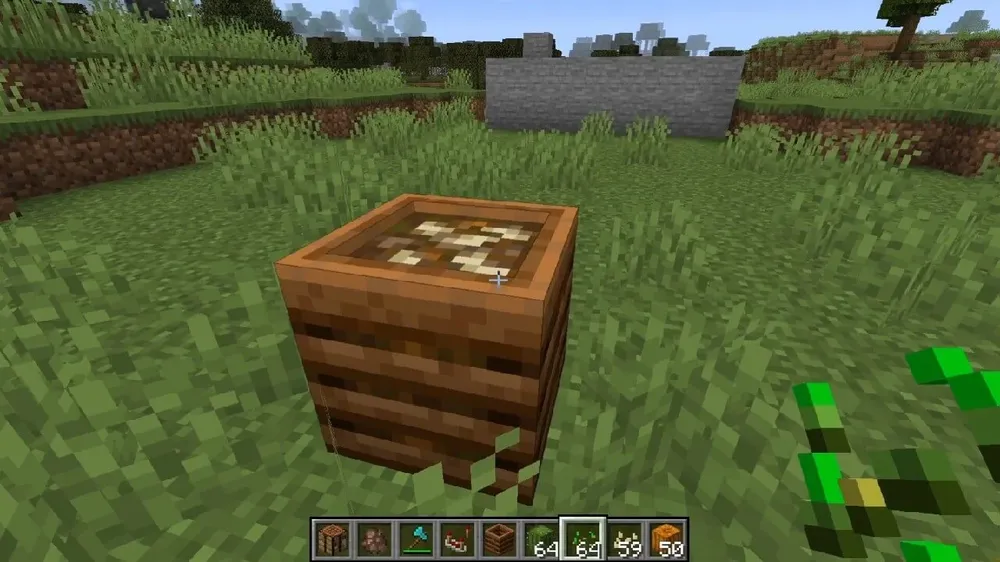
Welcome to the world of Minecraft, where creativity and resourcefulness are your keys to success! Among the myriad of things you can do in this blocky universe is crafting your very own composter. Not only is this an essential tool for avid Minecraft farmers, but it's also surprisingly simple to create and use.
In this guide, we'll provide you with a detailed, step-by-step guide on how to make a composter in Minecraft and make the most out of it. So, strap in and let's get crafting!
Crafting a Composter in Minecraft
Ready to build your very own composter in Minecraft? It's easier than you might think! In this section, we'll walk you through the materials you'll need and the process of crafting a composter. Don't worry; we've got you covered every step of the way.
Gathering Materials
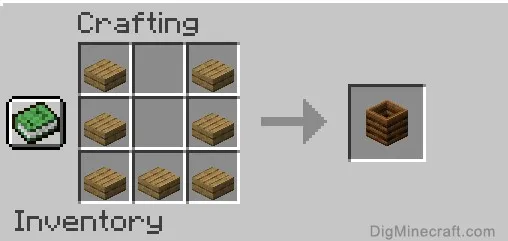
Wooden Slabs: To craft a composter, you'll need seven wooden slabs. These can be created from any type of wooden planks, so pick your favorite and get crafting!
Crafting Table: A 3x3 crafting table will be your workstation for this project. Make sure you have one set up before you start.

Crafting Your Composter
Arranging the Wooden Slabs: Open the crafting table interface and place the seven wooden slabs in a U-shape pattern, leaving the middle and top-center squares empty.
Claim Your Composter: As soon as the wooden slabs are correctly placed, your composter will appear in the crafting result slot. Just grab it and add it to your inventory!

Alternative Method: Village Composters
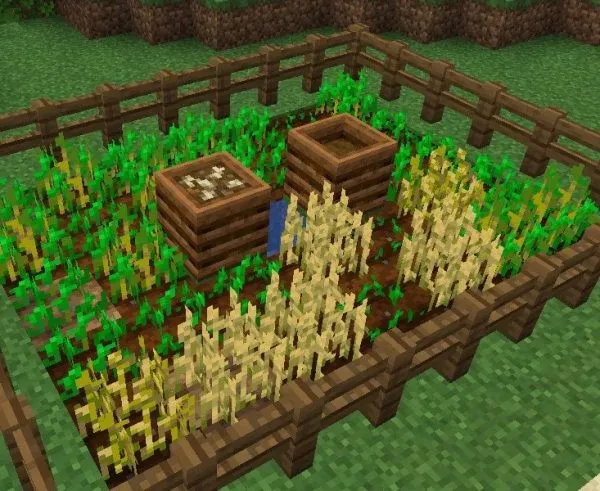
If crafting isn't your style, or you just want to save some time, you can also find a composter in a village. They often spawn in farm areas, so keep an eye out for these structures while exploring. Once you've located a composter, just grab it and get ready to put it to good use!
How to use a Composter in Minecraft
Now that you've successfully crafted or found a composter, it's time to put it to work! In this section, we'll explain the primary function of a composter and some additional uses you might not have thought of. Let's dive in!
1. Creating Bone Meal
The primary function of a composter is to transform unwanted plant material into useful bone meal. Bone meal is an excellent resource for fertilizing plants and crafting various dyes.

2. Adding Compostable Items
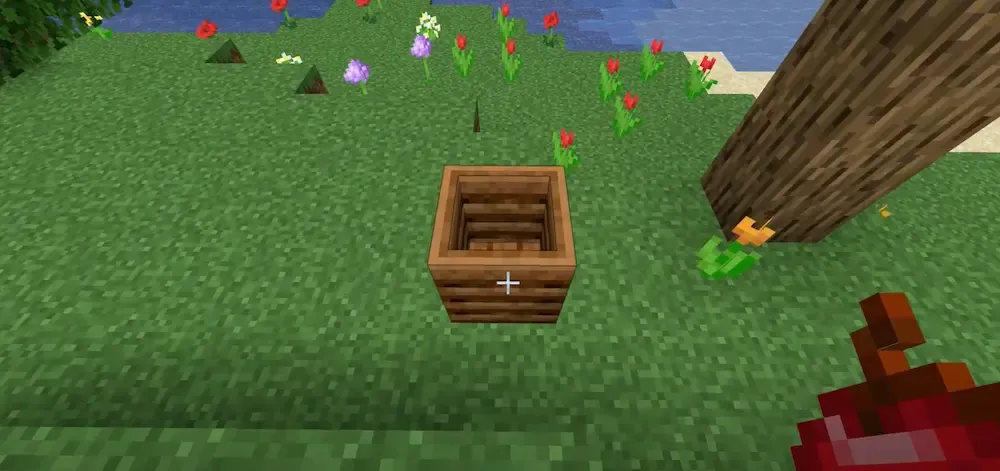
You can add a wide range of items to your composter, such as seeds, grass, food items, flowers, and other vegetation blocks. When you successfully add a compostable item, you'll notice green particles at the base of the composter, indicating that the process has begun.
3. Filling the Composter and Collecting Bone Meal
Your composter can hold up to seven layers of compost. As you add more items, the compost level will rise. When the composter is full, it will produce a bone meal item that you can collect and add to your inventory.

Bonus Uses of Composters
- Villager Professions: Placing a composter near a villager can change their profession to a farmer. These farmer villagers can trade farm-related items, and you can even employ them to manage automatic crop farms.
- Redstone Comparator Power Source: Depending on the compost level, a composter can also function as a power source for a redstone comparator, with power levels ranging from zero to eight.
- Automatic Bone Meal Generator: By placing a hopper below a composter, you can automate the collection of bone meal. The hopper will extract the bone meal and store it in a connected chest, making your farming activities even more efficient!
Conclusion
You've now learned how to craft and use a composter in Minecraft like a true pro. With this newfound knowledge, you're well on your way to maximizing your farming potential and unlocking new possibilities within the game. Don't forget to experiment with different compostable items and explore the additional uses of your composter to make the most of this versatile tool. So, go ahead and enjoy your Minecraft adventures, and may your crops flourish with the help of your trusty composter!


