How to Install CurseForge on Steam Deck: Setup Guide for WoW and Minecraft
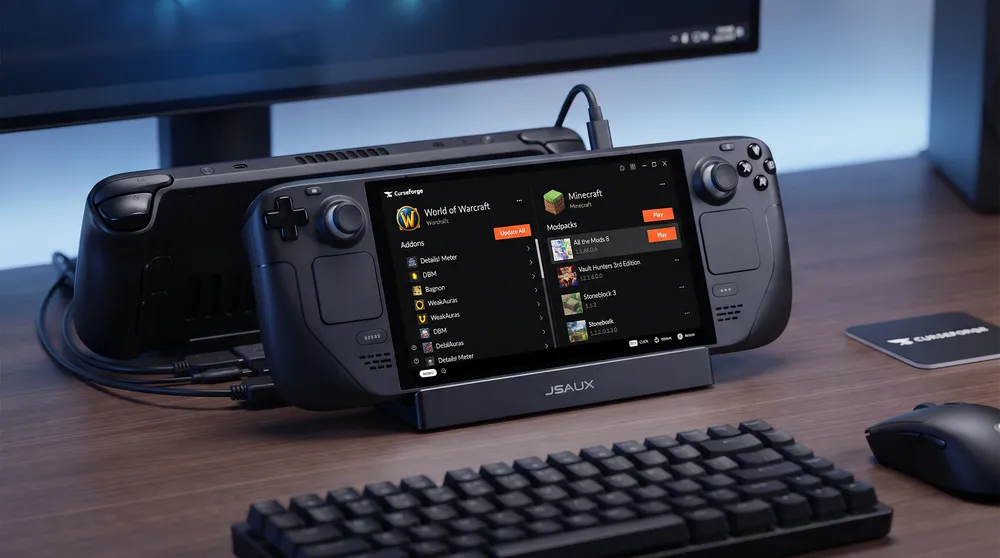
Valve's SteamOS has proven to be an exceptional handheld gaming operating system, but configuring games that rely on community mods, such as World of Warcraft and Minecraft, can be cumbersome through manual file extraction. The surging search interest for curseforge steam deck demonstrates that handheld owners want automated addon updates without setting up dual-boot Windows partitions.
Below is the verified walkthrough for installing and linking CurseForge on your Steam Deck.
Why Use the CurseForge Linux AppImage?
Rather than running complex third-party terminal scripts, Overwolf provides a standalone Linux build packaged as an AppImage:
-
Direct SteamOS Integration: Operates natively in Desktop Mode without modifying root system partitions or disabling write protection.
-
One-Click Updates: Automatically scans directory trees to update critical addons like ConsolePort (controller navigation), Details!, and WeakAuras for WoW.
-
Clean File Management: Eliminates the need to manually extract ZIP archives into nested
.var/apporcompatdatadirectories.
Step-by-Step Installation Guide
Follow these steps in Desktop Mode to install the client:
1. Download the Linux AppImage
-
Press the physical STEAM button, select Power, and choose Switch to Desktop.
-
Open your browser (such as Firefox or Chrome) and navigate to the official CurseForge download portal.
-
Download the Linux Standalone (AppImage) package into your default
Downloadsfolder.
2. Enable Executable Permissions
-
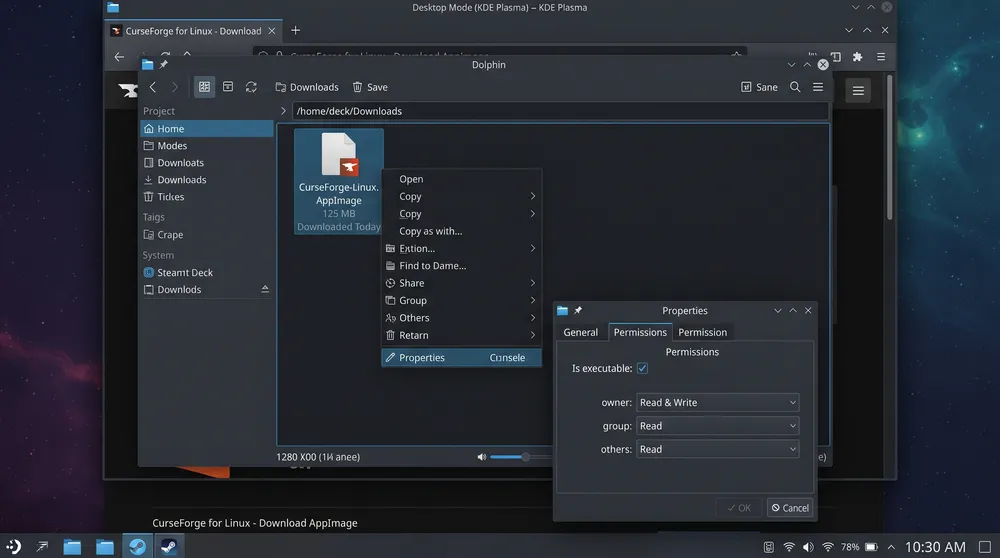
Open the Dolphin file manager and navigate to
Downloads. -
Right-click the downloaded CurseForge file, select Properties, click the Permissions tab, and ensure Is executable is checked.
3. Add to Steam as a Non-Steam Game
-
Open the Steam desktop client while remaining in Desktop Mode.
-
Click Add a Game in the lower-left corner and choose Add a Non-Steam Game.
-
Click Browse, navigate to your
Downloadsdirectory, switch the file filter to All Files, select the CurseForge AppImage, and click Add Selected Programs.
4. Configure Proton Compatibility
-
Locate CurseForge in your Steam library, right-click it, and select Properties.
-
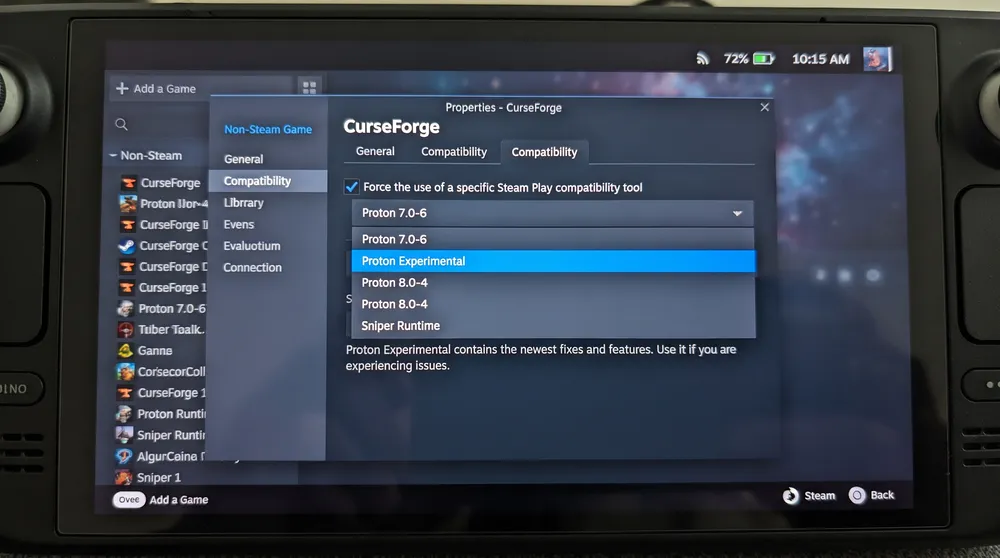
Navigate to the Compatibility tab and check Force the use of a specific Steam Play compatibility tool.
-
Select Proton Experimental or Proton-GE from the dropdown menu.
Linking Your Game Directories
Launch CurseForge through Steam. To direct the software toward your installed games:
-
Click the Settings (Gear Icon) or the plus symbol to manually add a game path.
-
For World of Warcraft installed via Battle.net, navigate through your drive path:
-
Internal SSD:
/home/deck/.local/share/Steam/steamapps/compatdata/[AppID]/pfx/drive_c/Program Files (x86)/World of Warcraft/ -
MicroSD Card:
/run/media/mmcblk0p1/World of Warcraft/
-
-
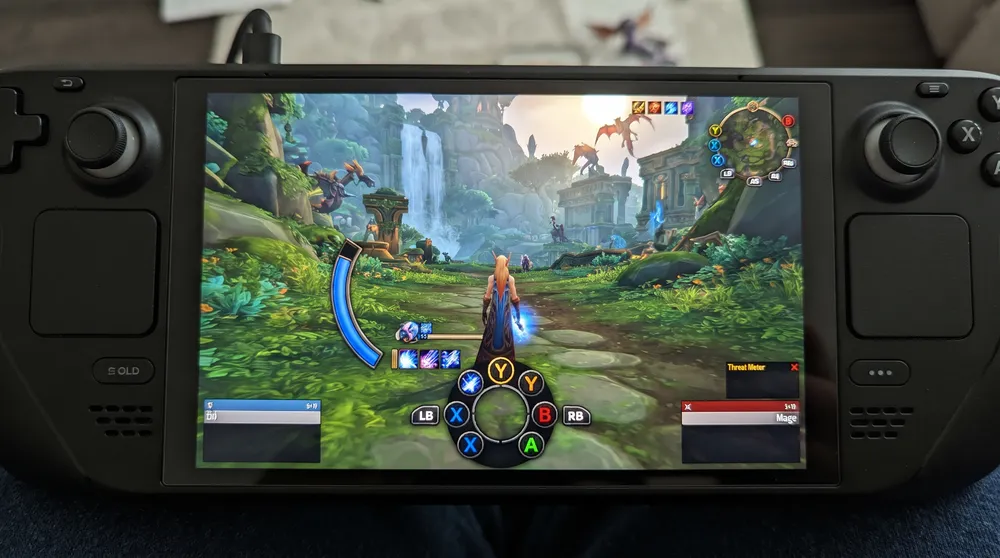
Select the primary game directory. CurseForge will index your installation, allowing you to install and update your entire addon library directly from the handheld interface. Close the app after updating your addons before launching your games to ensure all system memory remains allocated to gameplay.