
How to Craft an Anvil in Minecraft: Step-by-Step Guide
Welcome, Minecraft enthusiasts! If you're looking to step up your game and become a true master of crafting, then you've come to the right place. In this guide, we'll be focusing on one of the most essential yet often overlooked items in the game - the anvil. Not only is the anvil crucial for repairing and combining your tools and weapons, but it also plays a vital role in enchanting them, making it a must-have for any serious player.
In the world of Minecraft, knowledge is power. That's why we've put together this comprehensive, easy-to-understand guide that'll take you through each step of the anvil-crafting process.
Gathering Materials
Before you can begin crafting your very own anvil, you'll need to gather the essential materials that will bring your creation to life. In this section, we'll explore the different materials you'll need, as well as some tips on how to find them efficiently.
Crafting Table: Your Anvil Workshop
To kick things off, you'll need a crafting table. If you don't have one already, don't worry – they're easy to make. Start by gathering some logs and turning them into wooden planks. Once you have your wooden planks, arrange four of them in a 2x2 grid in your crafting interface, and voilà – you've got yourself a crafting table!
Cobblestone and Pickaxes: Essential Tools for Resource Gathering
To collect the necessary materials for your anvil, you'll need a pickaxe. First, craft some sticks using two wooden planks placed vertically in the crafting interface. Next, you'll need to create a pickaxe. Start with a wooden pickaxe by arranging three wooden planks in a horizontal row across the top of your crafting grid, and then placing two sticks vertically below the center plank.
Once you've got your wooden pickaxe, use it to mine cobblestone to craft a stone pickaxe, following the same recipe but substituting wooden planks with cobblestone. A stone pickaxe will allow you to mine iron ore, but an iron pickaxe is even more efficient. To make an iron pickaxe, simply replace cobblestone with iron ingots in the recipe.
Iron and Coal: The Building Blocks of Your Anvil
Now that you've got your pickaxe, it's time to hunt for iron and coal. These resources are commonly found in caves, ravines, and cliff sides, as well as in stone-covered biomes. Keep your eyes peeled for the distinct gray texture of iron ore and the black specks of coal ore.
Once you've located these resources, use your pickaxe to mine them. You'll need at least 31 iron ore for your anvil, so don't be shy about collecting more if you come across it. As for coal, it's an excellent fuel source for smelting your iron ore, so be sure to gather a good amount.
Smelting Iron
You've got your iron ore and coal - fantastic! Now it's time to turn that raw material into something you can use to craft your anvil. In this section, we'll cover the smelting process that will yield iron ingots, the primary component of your soon-to-be anvil.
Furnace Fundamentals: The Key to Smelting Success
To smelt your iron ore into iron ingots, you'll need a furnace. If you haven't crafted one yet, it's pretty simple. Arrange eight cobblestone blocks in a square with the center-left empty in your crafting grid, and you've got yourself a furnace. Once crafted, place the furnace in a convenient spot and prepare for smelting.
Smelting Your Iron Ore: Iron Ingots, Here We Come!
Now that your furnace is ready, let's get smelting! Open the furnace interface by right-clicking on it. You'll see two slots – the top slot is for the item you want to smelt (in this case, iron ore), and the bottom slot is for fuel (we'll be using coal). Place your iron ore in the top slot and your coal in the bottom slot. Watch as the furnace's progress bar fills up, indicating the smelting process is underway. When it's complete, an iron ingot will appear in the output slot. Make sure to collect your ingots and continue smelting until all your iron ore has been transformed into ingots.
Optional: Blast Furnace for Speedy Smelting
If you're looking for a faster way to smelt your iron ore, consider crafting a blast furnace. It operates just like a regular furnace, but it smelts ores at twice the speed! To make a blast furnace, you'll need five iron ingots, one furnace, and three pieces of smooth stone. Arrange them in your crafting grid with the furnace in the center, iron ingots in the corners, and smooth stone filling the remaining slots.
Crafting Your Very Own Minecraft Anvil
You've come a long way, and now it's time for the grand finale – crafting your anvil. With your iron ingots in hand, you're all set to complete this final step. In this section, we'll guide you through the process of assembling your anvil at the crafting table.
Crafting Iron Blocks: A Sturdy Foundation for Your Anvil
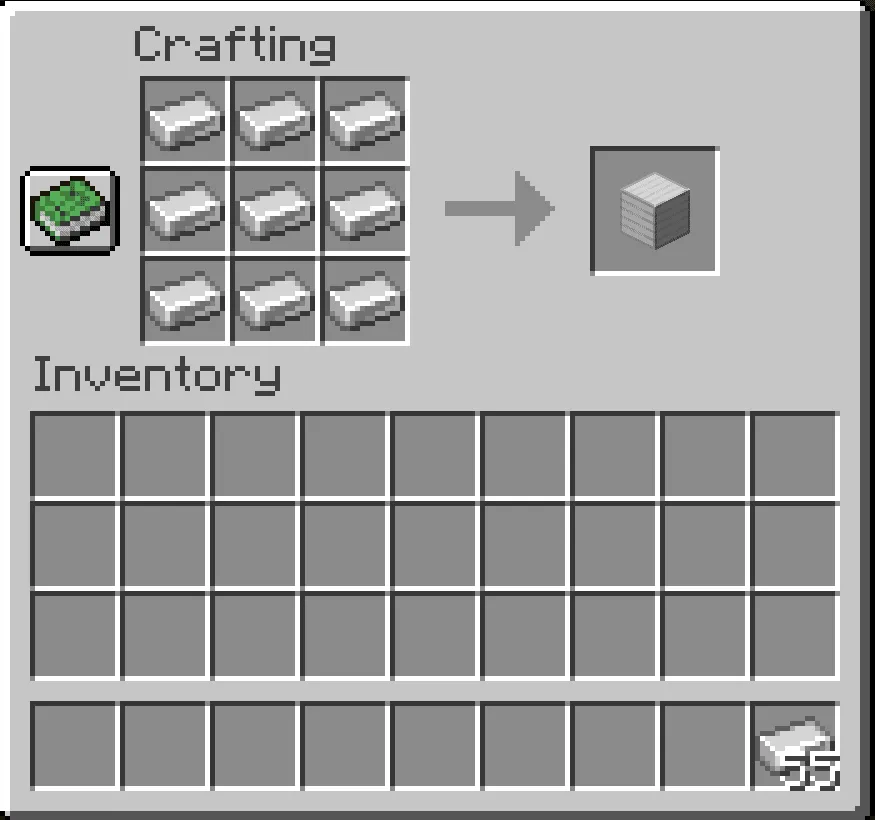
Before you can arrange your anvil recipe, you'll need to create iron blocks. Each iron block requires nine iron ingots, and you'll need three iron blocks for your anvil. To create an iron block, simply fill all nine slots in your crafting grid with iron ingots. Repeat this process three times to craft the three iron blocks required for your anvil.

Assembling Your Anvil: The Moment of Truth
Now that you have your iron blocks and remaining iron ingots, open your crafting table interface and get ready to assemble your anvil. Start by placing the three iron blocks in a horizontal row across the top row of the crafting grid. Next, place one iron ingot in the center slot of the middle row. Finally, fill the entire bottom row with iron ingots. Your crafting grid should now display the anvil recipe, with the resulting anvil appearing in the output slot.
Claiming Your Prize: Adding the Anvil to Your Inventory
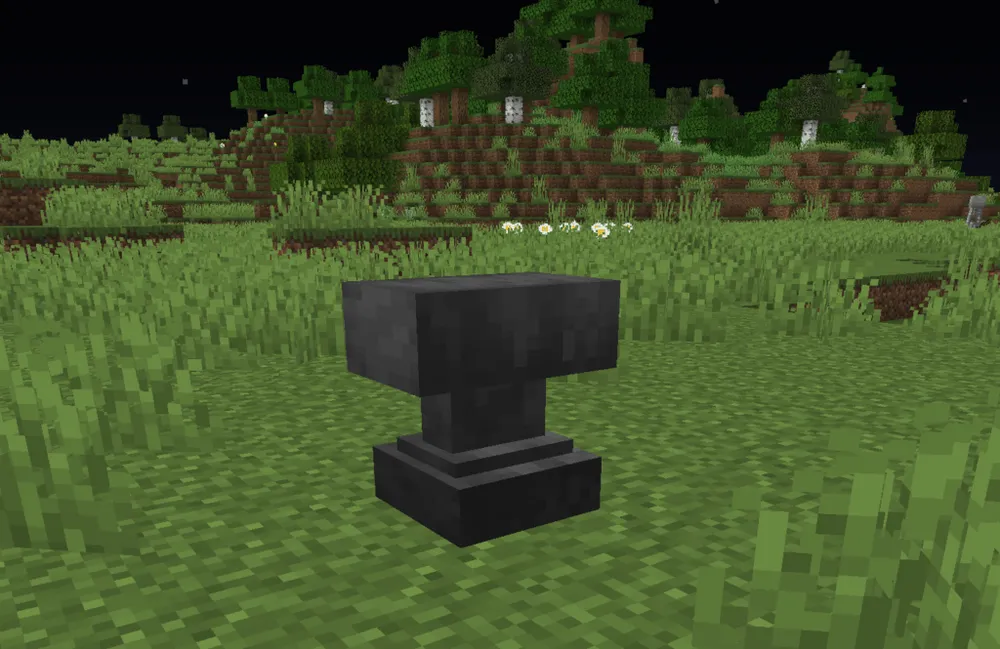
You did it! Your anvil is complete and ready for action. Simply click on the anvil in the output slot to transfer it to your inventory. Now you can place your anvil wherever you'd like within your Minecraft world, ready to repair, enchant, and combine your tools, weapons, and armor.
Conclusion
And there you have it – you've successfully crafted your very own anvil in Minecraft! By following this comprehensive guide, you've not only acquired a valuable new skill but also gained a deeper understanding of the various materials and processes involved in anvil creation.
As a key component in repairing, enchanting, and combining items, the anvil will undoubtedly become an indispensable part of your Minecraft experience. With your newfound expertise, you'll be able to make the most of this versatile tool and truly elevate your gameplay.


