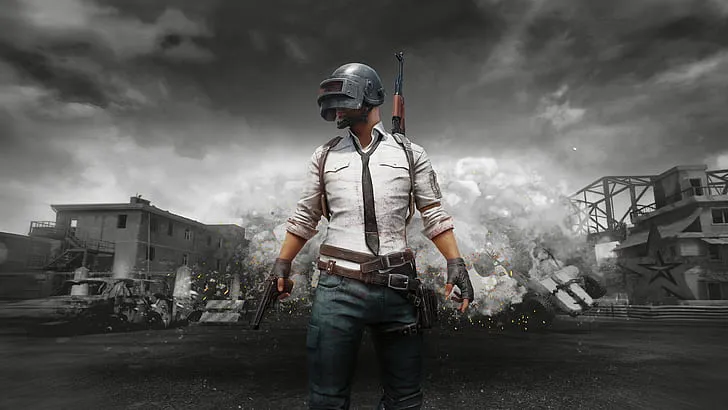
How to Change Servers in PUBG

PUBG, which actually has become the centrepiece of the battle royale genre of games, brings a fierce and engrossing style of play to this collective position. It's a game where 100 people parachute onto the increasingly smaller map, fighting for weapons and gear to be the last-man standing. One of the major elements that distinguishes PUBG is its capability to acquire players on an international level to team up with diverse sets of friends across many countries. This guide tells you how to change servers in PUBG. This way, you can effortlessly game alongside friends worldwide.
Understanding the Importance of Server Selection in PUBG
Before venturing into available servers, it is important to understand why picking the correct server counts. The server that you are put into from time to time can entirely affect your entire gaming experience. Generally, playing in a nearby server means a lower ping that allows fast and responsive gameplay. If you want to team up with friends in another region, changing servers will improve you by no lags.
Steps to Change Your Server in PUBG
1. Starting the Process: Launch PUBG and go to the lobby. Look for the ‘Arrow’ icon next to ‘Inventory’ at the screen's bottom right corner, and click.
2. Accessing Server Options: In the settings menu, locate the ‘Select Server’ option under the ‘Account’ section.
3. Choose Your Server: Click the ‘Arrow’ icon to see all available servers. You can view the ping for each server here. Remember, for smoother gameplay, the ping should be as low as possible. And, according to your preference, you can choose the server.
4. Confirming Your Choice: After selecting your desired server, confirm your choice by clicking ‘OK.’
PUBG has now limited the number of servers that can be changed. If you change your server in PUBG, at most, you will be allowed to do so for 60 days, so choose well. On the other hand, playing in rooms means that the room owner chooses the server, which might cause a higher ping to your preferred server.

Changing Your Region in PUBG
At times, you may also wish to change the region in PUBG. Here is how you can do so:
1. Accessing Settings: Open PUBG and click on the 'Arrow' icon given at the bottom right corner of your screen. Click on 'Settings.'
2. Country/Region Settings: Search for 'Country/Region Settings.' Then click the 'Change' option right next to the region.
3. Choosing your country: Choose from a list of countries given and save upon selection.
As a server changes, you can change a region once every 60 days.
Also Read: Best Mobiles for PUBG Mobile
Conclusion
Knowing How to change servers in PUBG can bring spice into your gameplay, mostly when you play with your friends as they play the game from different countries. This straightforward task can reduce random glitches or lags for a smooth play! Remember, selecting a server and region to play the game is not necessarily a matter of connectivity but enjoying the game with friends, who can be from all around the world. So select your smartly and enjoy this thrill in the land of PUBG.


