
Minecraft Sift Guide: How Sifting Mechanics Work, Loot Tables, and Tools
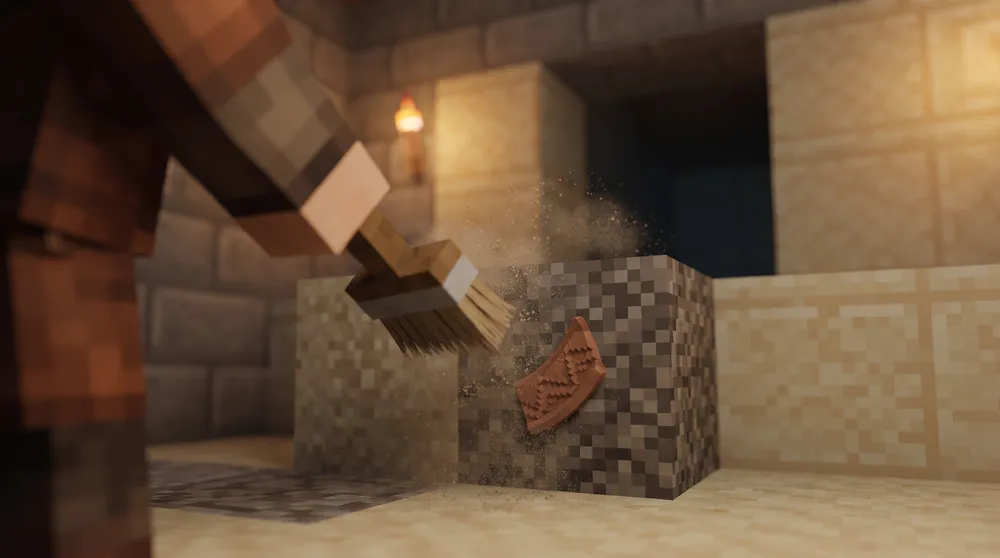
Here is how sifting works in vanilla Minecraft, where to find candidate blocks, and what high-value loot tables you can pull from the ground.
What Is Sifting in Vanilla Minecraft?
In vanilla Minecraft, the sifting action is performed through the Archaeology system. Rather than smashing blocks with a shovel or pickaxe, players use a crafted Brush to gently scrub away surface layers of fragile blocks without shattering the delicate artifacts buried inside.
Attempting to harvest archaeology blocks with standard tools, explosions, or water streams immediately destroys the hidden loot, dropping nothing more than standard sand or gravel blocks.
Crafting the Essential Tool: The Brush
To begin sifting, you need to construct a Brush at a standard Crafting Table:
-
1 Feather (top center slot)
-
1 Copper Ingot (middle center slot)
-
1 Stick (bottom center slot)
Brushes carry 64 durability points by default. Each full excavation cycle on a suspicious block consumes exactly one point of durability, giving a single brush enough life to sift through an entire ruin complex.
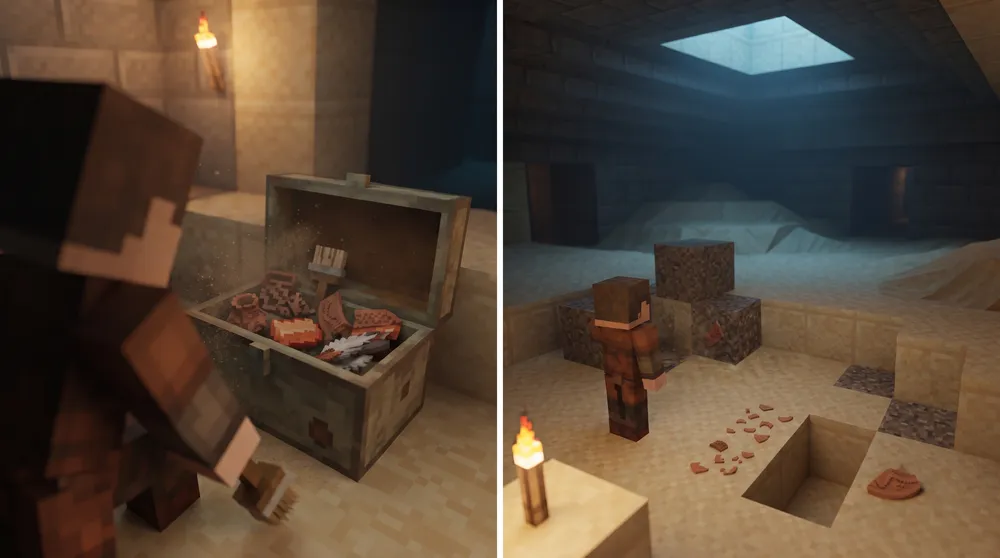
Where to Find Siftable Blocks
Archaeological sifting cannot be performed on standard terrain. You must locate two distinct block variations: Suspicious Sand and Suspicious Gravel.
These blocks share identical color palettes with regular sand and gravel, but feature rougher, cracked surface textures with pronounced horizontal crevices.
1. Desert Pyramids
Dig down to the basement of a Desert Pyramid, avoiding the central pressure plate. Look for hidden rooms buried beneath the sandstone floor. These concealed pockets frequently house three to four blocks of Suspicious Sand containing exclusive Pottery Sherds and diamonds.
2. Desert Wells
Small desert wells sitting in open sand dunes hide a block of Suspicious Sand directly underneath the central water puddle. Use a sponge or place solid blocks to drain the water source block before using your brush, as active water currents can interfere with the sifting animation.
3. Trail Ruins
Buried ancient settlements found in Taiga, Birch Forest, and Jungle biomes. Trail Ruins are constructed almost entirely underground, featuring multi-tiered stone roads, mud brick homes, and dense pockets of Suspicious Gravel.
4. Ocean Ruins (Warm and Cold Biomes)
Submerged cobblestone and sandstone ruins lining ocean floors contain clustered archaeology blocks. Warm ocean variants spawn Suspicious Sand, while cold ocean variants hold Suspicious Gravel. Underwater breathing potions or a Respiration III helmet are recommended while brushing underwater.
Complete Loot Tables: What Can You Uncover?
Sifting yields four main tiers of items ranging from basic survival resources to museum-grade collectibles:
| Structure | Target Block | Common Drops | Rare Drops / Artifacts |
| Trail Ruins | Suspicious Gravel | Coal, Wheat, Clay Balls, Bricks | Wayfinder / Raiser / Shaper / Host Armor Trims, Relic Music Disc |
| Desert Pyramid | Suspicious Sand | Gunpowder, Emerald, TNT | Miner / Shelter / Prize Pottery Sherds, Diamonds |
| Desert Well | Suspicious Sand | Sticks, Bricks | Brewer / Arms Pottery Sherds, Sniffer Egg |
| Ocean Ruins | Sand & Gravel | Coal, Gold Nuggets, Iron Axe | Angler / Shelter / Snort Pottery Sherds, Sniffer Egg |
How to Sift Properly: Step-by-Step Technique
Executing the sifting mechanic correctly ensures you do not accidentally break rare items:
-
Clear the Perimeter: Remove all regular sand, hostile mobs, and water currents surrounding the target block to ensure clear visibility.
-
Hold Right-Click (Use): Aim your crosshair directly at the Suspicious Sand or Gravel and hold the use button.
-
Watch the Transformation Stages: The block transitions through four distinct visual cracking phases over approximately four seconds.
-
Identify the Item Core: By the third phase, a miniature 3D model of the buried item will physically emerge from the side of the block.
-
Collection: Upon completion, the artifact pops out into your inventory, and the suspicious block instantly collapses into regular, non-reusable sand or gravel.
Mastering this excavation process is the only method to acquire all 20 unique decorative pottery designs and the rarest cosmetic armor trims available in the survival sandbox.


