
AI Koppelen aan Roblox Studio: ChatGPT, Claude en RoPilot Instellen via MCP
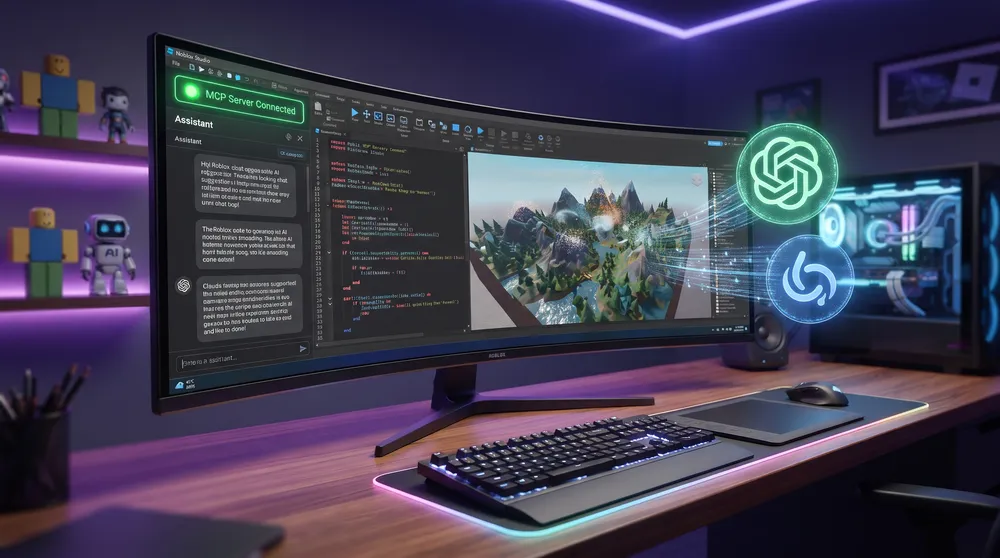
Developing experiences in Roblox Studio has historically demanded manual scripting in Luau, detailed 3D environment layout work, and constant console error tracing. With the deployment of native Model Context Protocol (MCP) server capabilities by Roblox Corporation, creators can now integrate top-tier external AI models, including ChatGPT (via OpenAI Codex CLI), Claude, and dedicated assistant tools like RoPilot, directly into their active projects.
Below is the complete walkthrough on how to set up the MCP connection, link your preferred AI assistant, and safely automate your development pipeline.
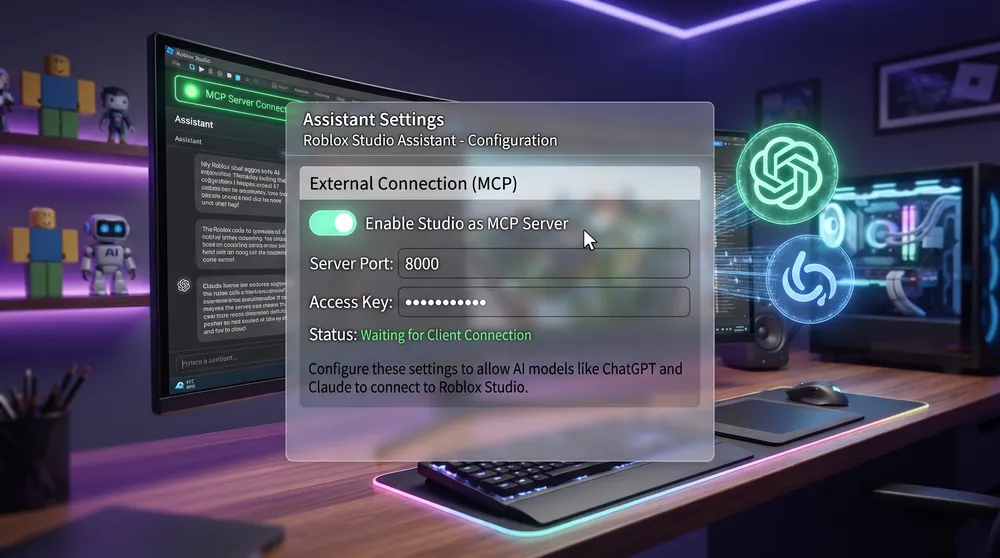
What Is the Roblox Studio MCP Server?
MCP (Model Context Protocol) is an open standard that allows large language models to interact with local development environments. Instead of copying and pasting code back and forth from a browser window, the built-in MCP server transforms Roblox Studio into an interactive workspace:
-
Context Awareness: The connected AI reads your project’s Explorer tree (such as Workspace objects, ServerScriptService, and ReplicatedStorage), giving it full structural awareness of your assets and game logic.
-
Direct Asset Manipulation: Prompts like "Add a functional shop counter with a ProximityPrompt" can create, position, and anchor physical parts directly in your 3D viewport.
-
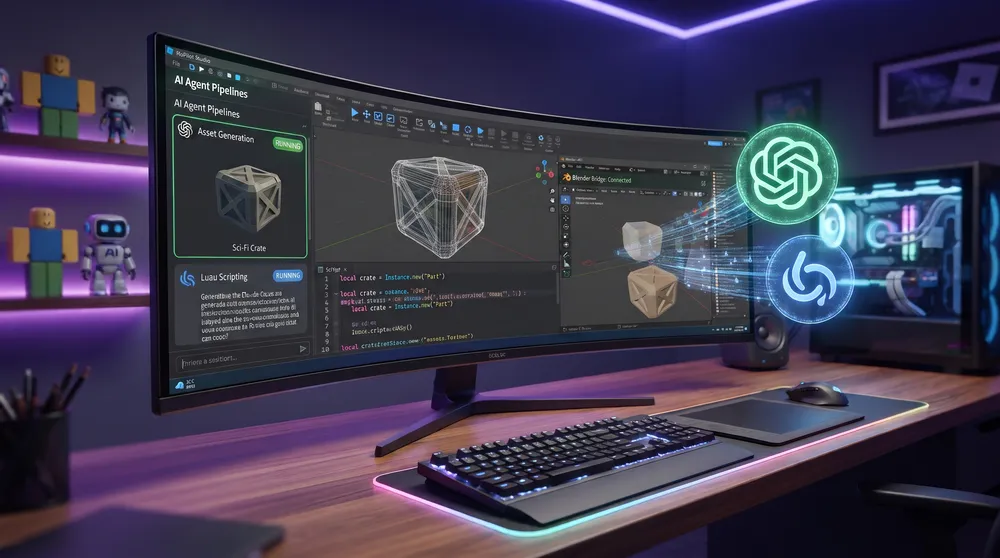
Live Scripting and Error Fixing: Connected agents can review runtime error stack traces in your Output Console and update broken functions inside active scripts automatically.
How to Connect ChatGPT and Claude via MCP
Connecting an external model requires enabling the internal server bridge before linking your desktop AI client:
-
Update Roblox Studio: Ensure you are running the latest production build of Roblox Studio to access current Assistant and developer features.
-
Activate the MCP Server:
-
Open an active project file in Roblox Studio.
-
Open the built-in Assistant panel on the right toolbar.
-
Click the three-dots menu icon (
…) at the top of the Assistant panel and choose Manage MCP Servers. -
Toggle Enable Studio as MCP server to On.
-
-
Configure Your Preferred AI Client:
-
For ChatGPT / OpenAI: The primary route utilizes the official Codex CLI. Select MCP Servers > Quick Connect > Codex CLI inside Studio to generate your localized connection token and port configuration.
-
For Claude (Anthropic): Add the generated Roblox MCP server block into your
claude_desktop_config.jsonfile inside the Claude Desktop application settings.
-
-
Verify the Bridge: In your external AI chat window, send a simple query such as "List all models inside Workspace." Once the assistant returns an accurate list of your current project objects, your pipeline is fully operational.
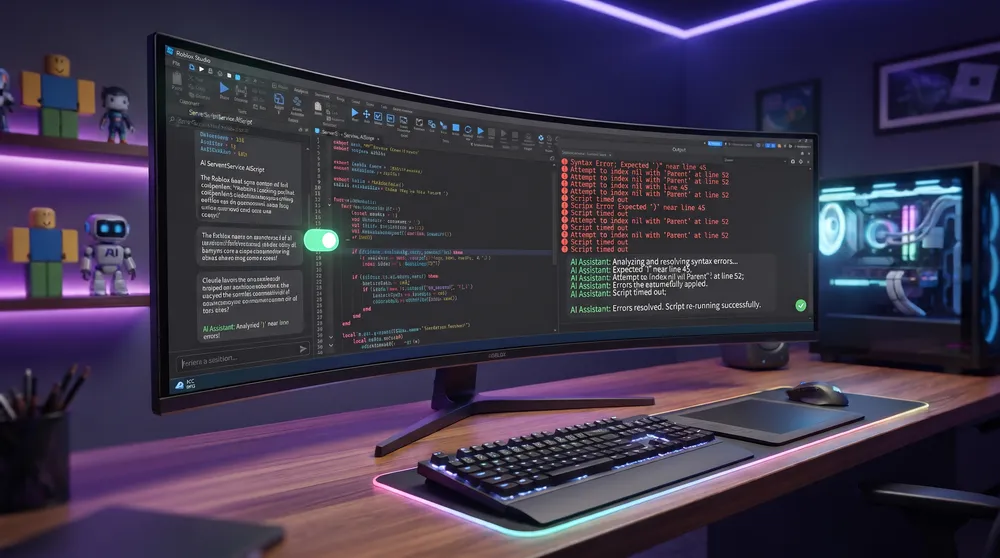
Exploring RoPilot Studio for 3D Asset Creation
If you want an assistant engineered specifically for game mechanics rather than general-purpose text models, RoPilot Studio provides a specialized alternative:
-
Desktop Application and Plugin Pairing: RoPilot pairs a dedicated background desktop app with an official plugin installed from the Roblox Creator Store.
-
Blender Integration: RoPilot can automate a local background instance of Blender, allowing you to generate custom 3D meshes, optimize polygon counts, and import texturized models into Studio with a single text prompt.
-
Automated Playtesting: The agent can run automated playtest sequences, using visual captures to verify player collision boxes and confirm that basic character movement remains smooth.
Best Practices and Safety Safeguards
Granting external AI tools write permissions inside an active place file requires smart precautions:
-
Commit to Version History First: Always publish your place file to the Roblox Cloud before letting an AI perform major refactoring. If an experimental script causes a recursive crash loop, you can roll back to a clean save via File > Version History.
-
Use Focused, Iterative Prompts: Avoid asking an AI to "create a complete tycoon game" in one go. Break your project into modular requests: configure the datastore system first, build the inventory logic second, and wire up the user interface last.
-
Audit Generated Code: While modern models handle standard Luau syntax cleanly, always check that scripts respect server-client boundaries, run validation checks on remote events, and do not leave security gaps for exploiters.


