Best Deadlock Setups On Ascent

Nobody wants to be the one caught off guard when an enemy swoops in from a blind spot. Deadlock, the agent that is like chess moves—you've got to be two steps ahead to really secure the bag. Now, in the fast-paced, high-stakes world of Valorant, knowing the best deadlock setups can be the difference between a "GG, well played" and a frustrating walk back to the spawn point.
Whether you're trying to lock down a site like Fort Knox or setting up the perfect trap, it's all about positioning, gadgets, and a sprinkle of strategy. Each map has its quirks, with deadlock, you will bring something unique to the table. So, why settle for average when you can be the mastermind behind an impenetrable defense, right?
In this guide, we're going to dive into the best Deadlock setups on Ascent that'll make your opponents think twice before they rush in. So, grab some popcorn, put your game face on, and let's get into it!
Deadlock Setups
As a deadlock, you are the team’s hope on the defensive side. While the agent is still relatively new, there are endless things you can do to place a lot of impact on any opponent coming your way. With the perfect setups and correct timings, you can be the change in the outcome of the game. Here are the best deadlock setups:
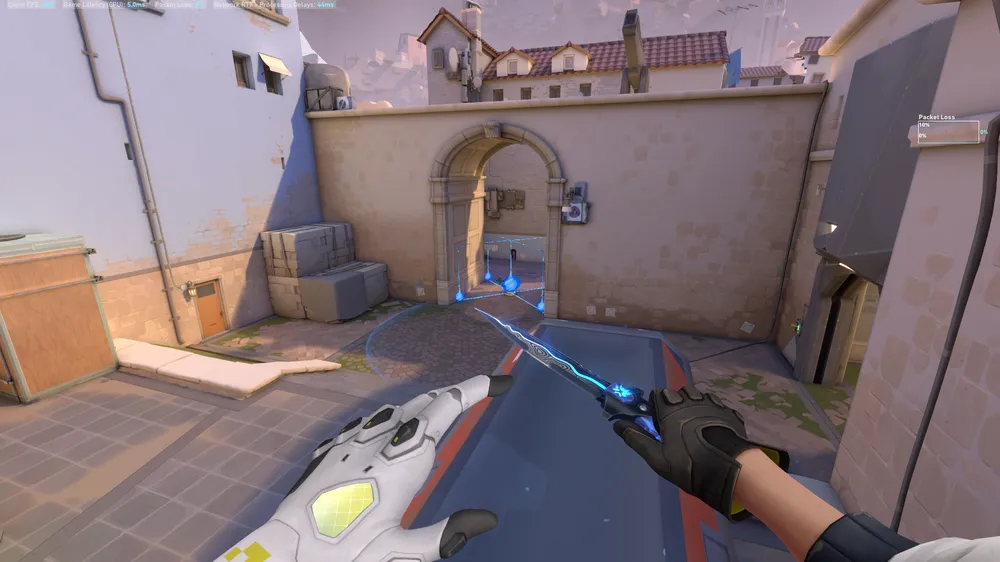
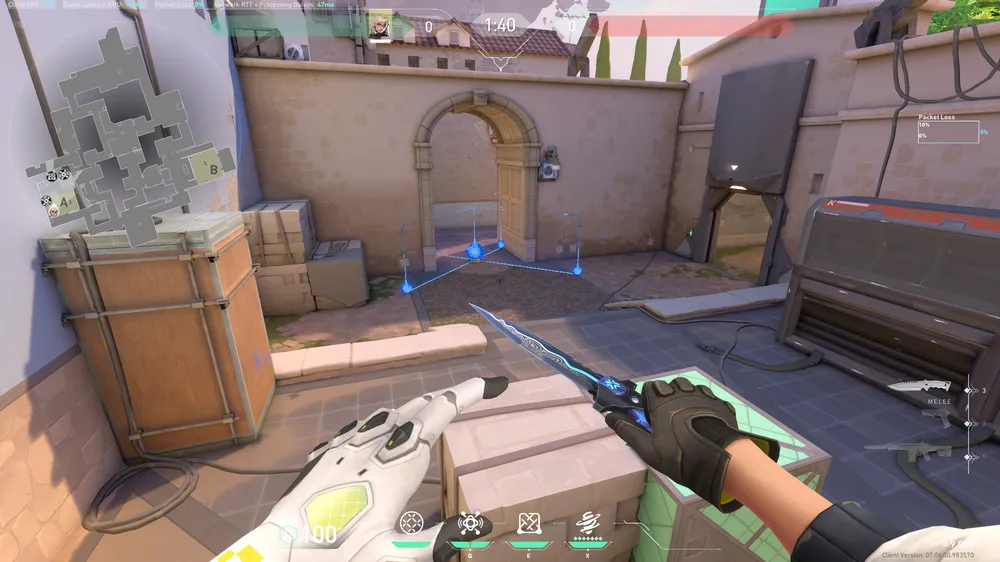
A Site

What Does It Cover: This deadlock setup will help you lock down A site with ease. Blocking the main choke point (A main) you will be focused on making anyone’s life a nightmare if they try to cross to A site.
When To Use It: Best used In defensive scenarios, most often where you want to peek off your utility as this will allow you to exceptionally duel anyone peeking when the sound sensors activate and stun the enemies.
Why Is It Special: Best part about this setup is how insanely effective it is for hard rushing enemies as it slows them down drastically and buys time for your teammates to rotate in case enemies are committing.

To do it, simply place your wall on A main, a sound sensor next to it the right side and one of the coffin wooden box.
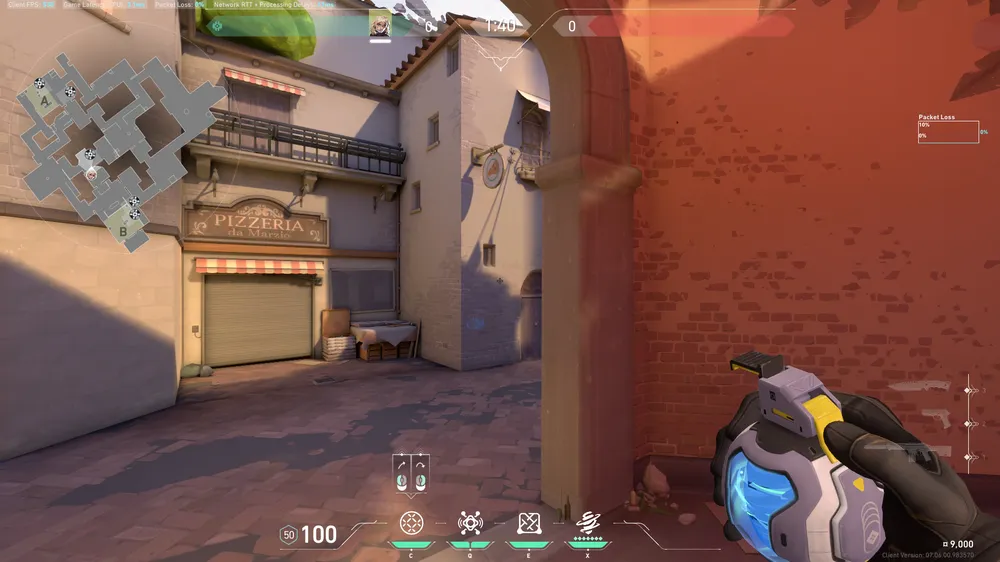
Mid

What Does It Cover: This setup is quite simple but it will get the job done, you will be able to instantly punish anyone crossing mid with this play. By placing a sound sensor and throwing your net accordingly, you will be an unstoppable force.
When To Use It: Best used in scenarios where you know enemies are going to execute mid, as such this will be an amazing way to counter hard pushes or eco rounds that are most likely fast paced.
Why Is It Special: It’s very easy to punish anyone crossing this space as it is very narrow and can help you pick off enemies at one choke point

To do it simply place your sound sensor in place and wait for it to activate so you can throw your net nade and peek off it. Enjoy your free frags!
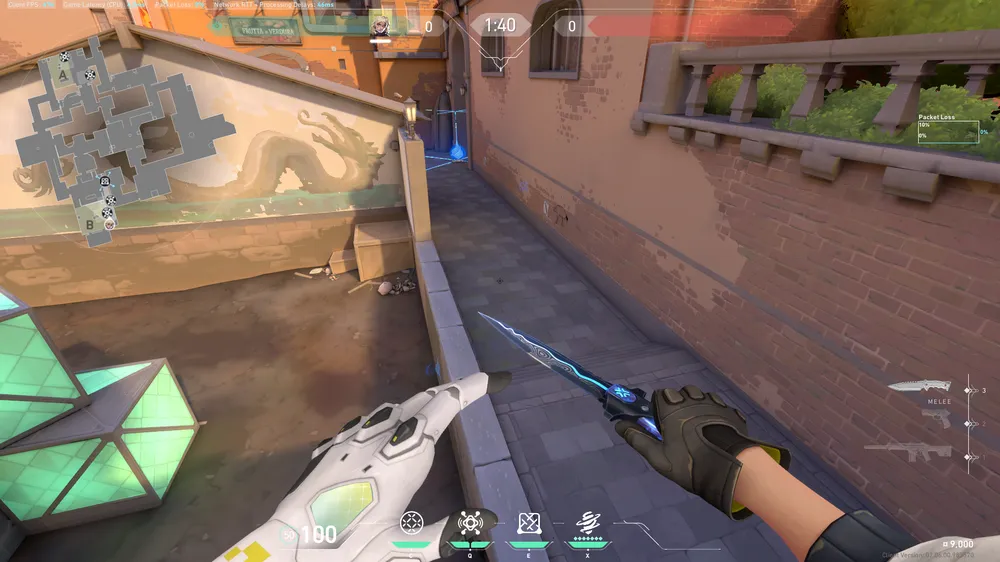
B Site

What Does It Cover: This setup will terrorize anyone trying to get to B site through B lane. As it focuses on blocking the cross to lane and the drop, you will be an unstoppable force to anyone trying to get down to B site.
When To Use It: Best used in situations where you are sure enemies are committing to your site, as such you can play from back site holding down anyone crossing over.
Why Is It Special: This setup allows for versatile plays as you can play from different positions to get the same result which is very effective when playing agents like Deadlock.

To do this setup all you have to do is simply place your wall on B main, a sound sensor on lane and another on the drop to site. Then, enjoy becoming a nightmare.
Pro Tips
- Remember that using your wall ability, each section can be broken separately and it can be done in less time than breaking it all at once. This means enemies can break one section quickly to pass through, being aware of this helps you predict upcoming danger.
- The audio sensor activates whenever a player produces an audio cue, this means if you place it for flank and enemies shift or slowly walk through it they will be completely undetected. Deadlock is weak when it comes to setting traps for flank as it can get dodged.
- GravNet (C) which is the ability that allows you to force crouch enemies can be canceled in some circumstances like an Omen teleporting or such. Don’t expect enemies to stay crouched after casting a certain ability.
- Enemies can easily dodge the sound sensors when they know where it is placed on site, meaning you should always re-arrange your setups and add your touch to the given setups in order to maximize the agent’s efficiency.
- Deadlock’s ultimate can bounce off walls to get to a desired position, so in case you had an enemy running away from you make sure to try and hunt them down with an ultimate trick shot!
- A common use for Deadlock’s ultimate is to enable it and not shoot it until you see the enemy. Usually with the range of the ability you can secure the kill even after being vulnerable for a few seconds after launching it.
- To properly secure holding sites, make sure you are buying the correct loadout for the purpose you are aiming for in a certain round. If you are going for kills, then place your sound sensors in cheeky spots and peek off them.
- The sound sensor can be tricked just like the killjoy turret and chamber trip, if you hear it alerted that doesn’t mean it launched or caught an enemy as they can simply retreat and hold your peek.


