Best Sova Shockdart Lineups On Fracture

If you’re playing Sova and you feel the need to learn a few lineups so you can elevate your gameplay, you’ve come to the right place. Here, we will take you through the best shockdarts lineups you could use. While lineups aren’t mandatory to be a good Sova, it can be the differentiator between a good and a great one.
It can also improve your KDA as you no longer would have to stand right in the open with your bow in hand to try and hit a shockdart, safe to say it is much more efficient to learn a lineup or two.
In this guide, we will take you through key locations on Fracture that you can shock dart to increase your chances of winning your rounds and games, so let’s start:
Attack Side
A Site

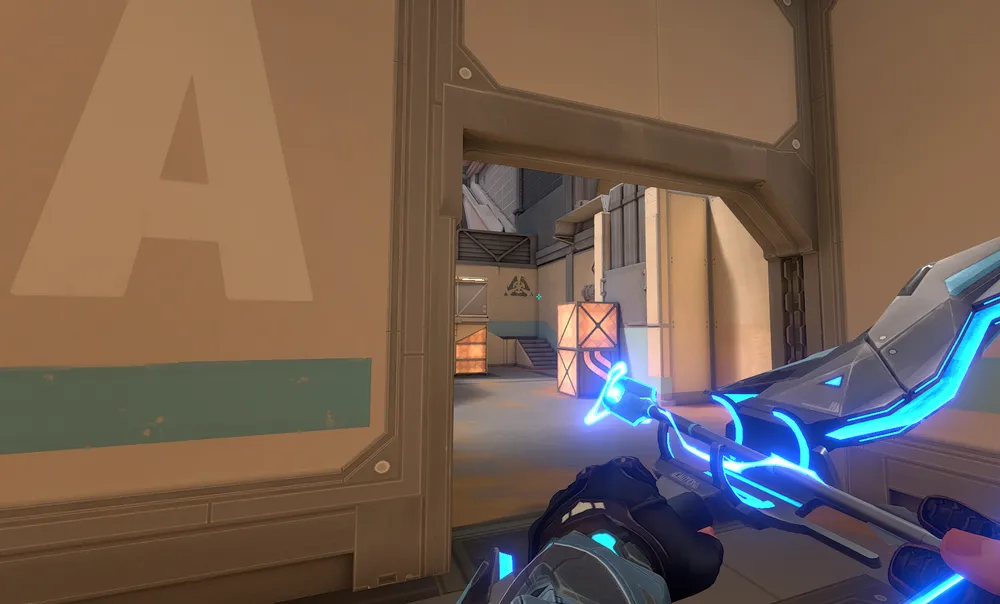
Starting with this lineup, this will land on the open plant (for main). This is to be used as a postplant scenario, where you don’t want to peek into enemies or would like to deal damage before peeking them.

To do it, come by the corner on A main, aim your charge bar HUD in line with the painting on the wall, then do a fully charged 1 bounce arrow.
B Main Plant

Over to B site, this will land on the main plant on B site. So if you planted the spike for main and found yourself playing tower/heaven, this is exactly what you need to use so you can stall enemy diffusing.

Simply come anywhere on B heaven, aim on the lining on the wall as shown in the picture, then do a 1 bounce and one charge arrow.
B Default Plant

If you didn’t plant the spike for main, and planted it on default where it’s safer, there’s a lineup for you too! This lands on Default, and it does that very quickly from basically the same position.

All you have to do is come closer to this spot where you can see the letter B, aim next to it, and then do a one charge one bounce arrow just like shown in the picture.
Defend Side
A Top Site

This is an insane lineup that will land on top site. During A site retakes, this can come in handy because it will deal damage or possibly kill anyone playing there (which by the way has a high chance) Then you’d be able to clear that without worrying.

To do it, come anywhere on CT and aim next the metal line as shown in the picture, then do a double bounce fully charged arrow.
Pro Tips
- Always make sure you are safe from enemies pushing you before performing a lineup. While some lineups can be done very quickly, you still need to keep that in mind to not get caught off guard.
- Refer to the pictures to understand where to stand and where to aim for the lineup to work. It is best to practice it in a custom before heading to a Ranked game.
- You can try to innovate and alternate the lineups to your liking if you find it better, it is scenario dependent but you are free to get creative. Simply a turn to the right or left may change where the Arrow goes.
- As a Sova, lineups aren’t everything. Timing is everything. Make sure to use your abilities at a good time to get the best out of it.
- Make sure you don’t spam these arrows consistently as this will lead enemies to pre-aim your arrows’ locations and break them instantly. Instead, alternate between the lineups for better efficiency.
- Your shock darts are not always used to deal damage to players, sometimes the best use is to destroy a cypher trip or other sentinel’s utility.
- Always alternate your lineups, Sentinels will not stand in the same position or keep their trips on the same spots if they know you’re destroying it. That’s why it’s a good idea to learn a few lineups so you can alternate between them as needed.


