VALORANT Ascent Map Guide

As of right now, VALORANT offers 7 different maps for players. However, in ranked, we get no control over what map we play so it’s important to try to get a good understanding of them all. In this series of guides, I’ll be talking through every map, giving you the information you need to dive right in. I’ll be starting with one of the most popular and straightforward maps in the pool, Ascent.
What's the gimmick?
Every map in the game has a built-in gimmick of some sort and Ascent is no different. The gimmick here is switch operated door on the secondary entrance of both sites. On A the door blocks off Tree, and on B it blocks off Market. These doors can be operated by their respective switches or can be broken manually.

Typically these doors are used mostly by the attackers by shutting the door as soon as possible when they get onto one of the sites. They are designed to make retaking more difficult as you have to waste time destroying them and give up your location in the process.
One pro-tip to get around this though is to proactively break the doors whilst on defence. Make sure that you’re not being pressured by the attackers, flick the switch and instantly shoot the door. This prevents attackers from blocking those sightlines and will make your retake easier.
The A site
Let’s take a closer look at each site, starting with A. A site is the most open of the two and is considered easier to attack than its alternative. Like most traditional sites it has one main entrance and one entrance connecting to mid. The default plant is just in front of the generator so that it is open to the attacker entrances but is also hard to be cancelled by the defenders without line-ups. I’ve marked it with the red dot in the picture below.
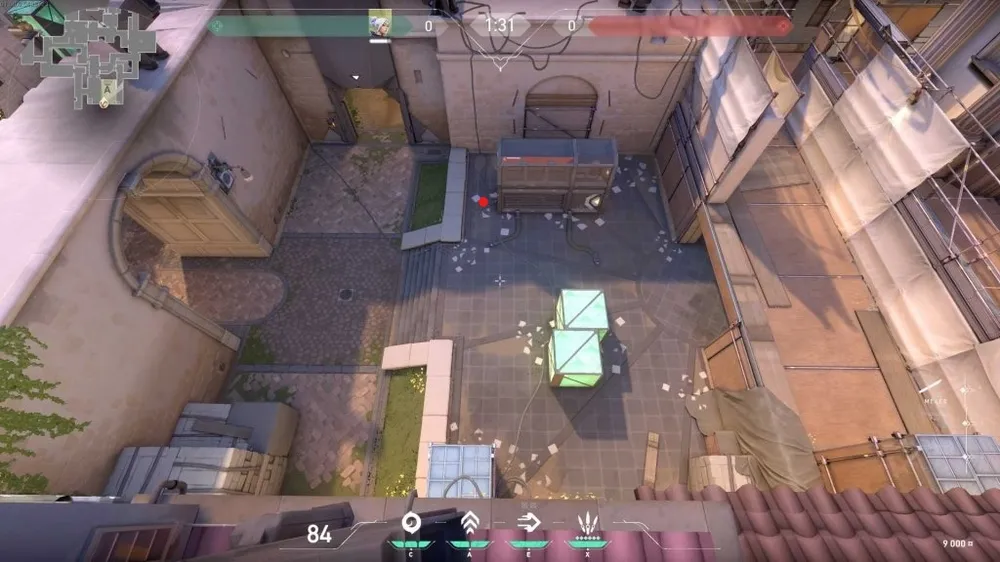
Typically defenders like to play behind the pieces of cover on the site. The most interesting part of this site is the heaven position as it creates a safe place for defenders to take a peek and leave as well as gives way to the tricky under heaven positions which can be a hassle for attackers to clear.
The B site
The B site on Ascent is a lot less traditional than A. It’s split into two distinct parts. There is the opening part of site that has to be contested first, then a lowered part where you can actually plant the spike.
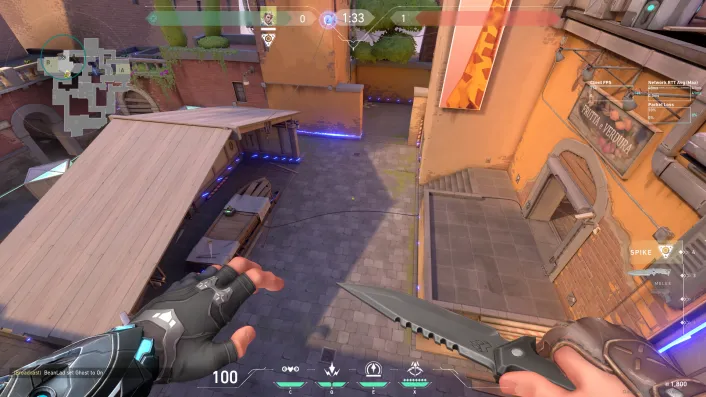
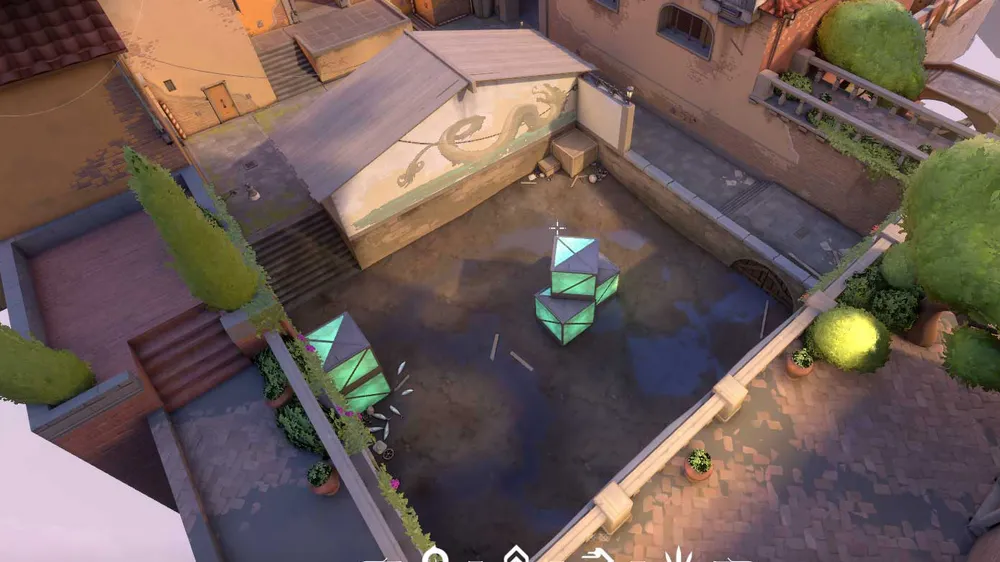
This means it’s certainly more interesting to play around. Typically the B site is considered harder to attack because there are so many more places that the defenders could be hiding.
How to attack on Ascent?
When attacking, taking mid control is very important. It opens up a lane for faster rotates and makes hitting a site so much more effective as you can attack from multiple entrances. You can fight on the long angles but as the attackers here you always have a disadvantage because of the spawn barriers. The most common way to deal with this is to smoke off mid and recon bolt behind it. Doing this will either get your team a free kill or force the opponents to back away giving you control.
When attacking A, make sure to smoke off short and heaven, make sure to tuck in the heaven smoke to not give the defenders extra space. Try to use flashes to force your opponents off their angles and most likely expect a peek from heaven. It’s also important to properly clear under heaven before you plant.

As I’ve already said attacking B is much trickier but having players pressure market makes it a lot simpler. Another really common issue is assuming that back site is free because you’ve already gotten a kill or two, it’s a really common spot so it’s definitely worth taking the extra time to clear it properly. However, by far the most common mistake I see for attacking B is leaving everyone on-site in the post-plant. This makes life so much easier for the retaking defenders as they have you trapped and don’t have to worry about any other space. You’re all trapped together meaning that all of their util is going to be more effective. Instead, make sure to leave one player in B main or have somebody lurking mid. This will create a much bigger headache for defenders and will have to spend a lot more time to properly clear everything before they fight the on-site players.
How to defend on Ascent?
Ascent generally has a slight defender bias, meaning that naturally, you should have a bit of an easier time defending. Most commonly for ranked I would recommend a 2-1-2 set-up. This means having 2 people play towards B, 1 towards mid, and 2 towards A, but you should be ready to rotate to help out the mid player if they feel a lot of pressure. I also typically see a lot of teams try too hard to fight the opponents on A site when they have no advantage. Typically towards that site, it’s better to play slightly safer positions such as short and heaven as it’s one of the easier sites to retake.
When you do retake A, it’s so important to clear short as an unchecked attacker here can easily lose you the round. As well typically retaking with more people through short than heaven is favourable so you’re not all funnelled into Killjoy mollies and other pieces of utility.
What agents are good on Ascent?
Now I’ll walk you through the most common composition used on this map by the pros. For Ascent, we have this

The second most common alteration swaps out KAY/O for Skye so it’s clear that the pros still favour a double initiator style here. This means in ranked any initiator is a great pick. My go-to recommendation for people looking to improve on Ascent is Sova. His pick rate is in the 90’s and he has incredibly simple plays that will net you easy rounds. The most common (and annoying) play you can make on Sova is while defending B. Pick up any heavy penetration weapon like the Odin or Ares, throw your recon bolt into B main and spam through the wall. Attackers will be funnelled into a small space as they push forward and you can mow them down.
Typically though, Ascent is one of the most varied maps in terms of agent viability so almost everything can work (even the under-appreciated Phoenix). Having a traditional controller is important though as Viper is much less effective on this map.
What are the callouts?
One of the most important things you can do is understand the basic callouts. This will allow you to give more accurate information to your teammates as well as understand the information given to you in more detail. Below you can see all the most essential callouts for Ascent.
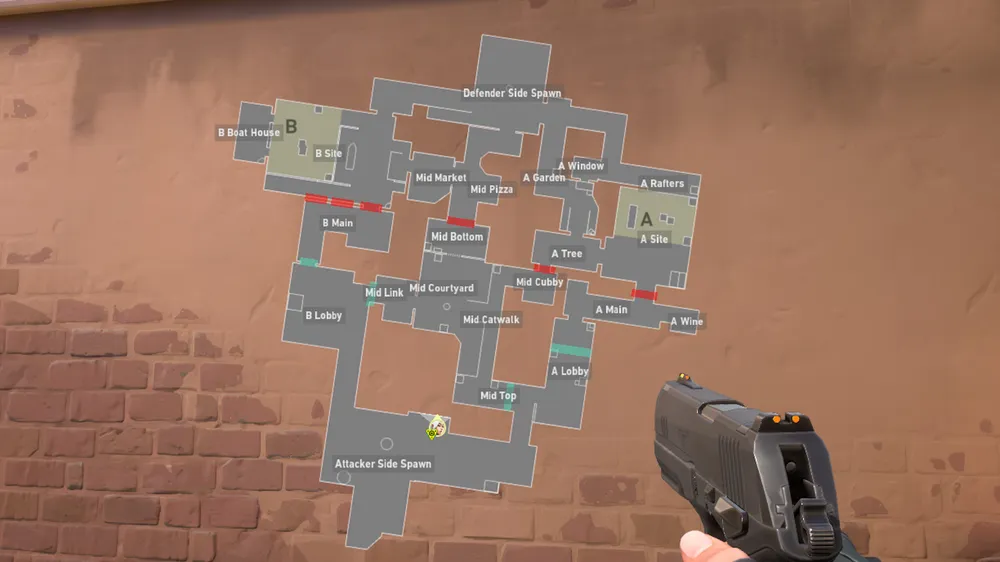
However, these are just the tip of the iceberg. To master some of the more detailed callouts check out our Ascent Callouts Guide.


